Showing posts with label value finder. Show all posts

Wednesday, May 1, 2013

Scrap Log Cabin

Scraps are such a mystery. How do so many accumulate? Why do we save them? What can we do with them? Occasionally I think it would be fun to have one way to handle scraps. Always cut squares... or rectangles... or triangles. Truthfully though, I'm too fickle.

My newest crush is cutting one inch strips for log cabins. The finished logs are one half inch wide. Wanting a scrappier look, I have them in various stages so identical fabric is placed in different rows from block to block.  I also try to avoid the same fabric progression from one block to the next.

Log Cabin block, Sunshine and Shadow set

The Value Finder helped sort fabrics. Lights are very light (8-10) but the darks range well into medium (1-5). Working with some of my strongly patterned fabrics was challenging. Sometimes I had to wait until a quiet scrap appeared before adding the next row. Some busy fabric never worked well. Some worked in shorter logs where I could fussy-cut around a big value change. Some fit in surprisingly well just as they were.

For example, in the lights at the top is a beige print with a cowboy on horseback. If I'd placed it closer to the darks, i.e., on a smaller inside log, the darks would have "crept" into the lights and the block would have lost its diagonal. On this long strip near the outer edge of a block, it adds some color (that is technically too dark) but the overall area still reads as light.

The lights also contain a variety of pastels - blue, purple, green and bright yellow. I worried they might overpower the lights in some way Finally I made most of the outer light logs from prints with beige or white backgrounds. Halting the pastels logs before they touch the next block seems to make them twinkle.

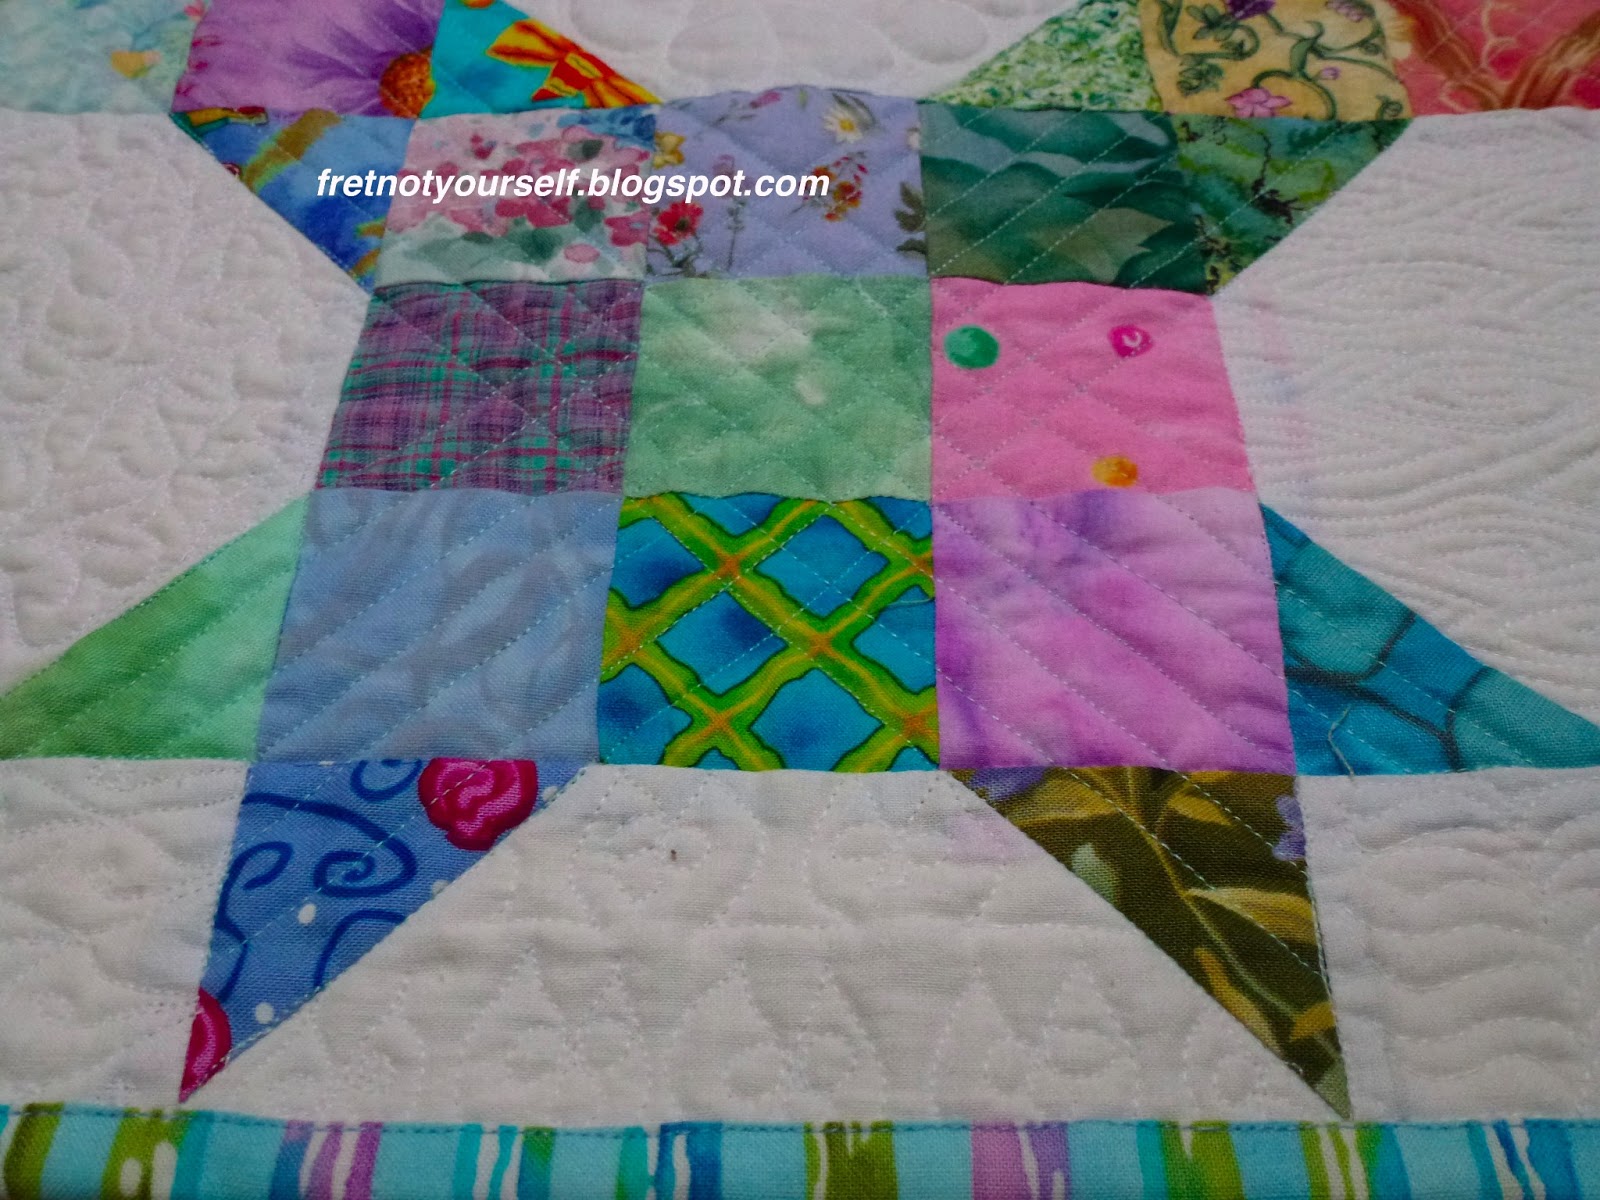
I'm still pondering the quilting design but leaning towards diagonal lines. And I need a small border.

Fret not; enjoy the day.

Ann

Saturday, April 20, 2013

Nine Patch Snowball

Last year I began cutting a few project remnants into 2.25 inch squares. But by the time there were enough I was in a machine quilting funk. My sketchbook was boring; I couldn't quilt designs I'd previously mastered. I wallowed in this misery for a week. Boring, tiring and non-productive.

Google searches led to Leah Day's Free Motion Quilting Project. Making small samples didn't appeal. Finally I realized I could make a nine-patch snowball quilt which would:
  1. Use up scraps
  2. Have small areas similar to Leah's samples 
  3. Give me a warmup piece to practice on before moving to larger quilts AND
  4. Finish a quilt for the ready-to-go stack.
Cheerful pastel and medium prints on white. Border creates stars for nine-patch snowball quilt.
Nine-Patch Snowball Scrap Quilt

How to make this quilt:
  1. Cut 353 squares 2.25". Use the Value Finder to sort the squares by value, keeping only lights and mediums (Gray Scale 9-4.) Darks go back into storage. 
  2. Randomly sew 225 squares into 25 nine-patch blocks. Don't make x's or o's. 
  3. Press seams to the center (because the snowball seams press out.)
  4. Cut muslin into 24 squares of 5.75 inches each.
  5. Take 96 colored squares, turn them over and draw a diagonal line on the back.
  6. Pin to each corner of a muslin square and sew along the drawn line. 
  7. Flip and press towards the corner; make sure the colored square (now a triangle) reaches the original muslin corner. Then carefully cut the excess muslin & colored part underneath leaving a quarter inch seam allowance.
  8. Lay out blocks alternating nine-patch and snowball. Match seams and sew. (The seams won't butt each other because they have different angles. Pin the intersections well.)
  9. The border is simply a row to finish the "stars." Cut 28 muslin rectangles 5.75 by 2.5 inches and 4 muslin squares 2.5 inches. 
  10. Take 32 colored squares and repeat step 4.
  11. Pin and sew two colored squares to each of 16 muslin rectangles as shown on the quilt. Since the muslin is slightly wider, the squares won't reach all  the way to both sides.
  12. Press & trim the excess from the rectangles as done in step 6.
  13. Lay out border alternating rectangles with colored triangles & plain rectangles. Put muslin squares in the corner. Sew.
  14. By cutting the border muslin slightly wider, the star points finish 1/4"before the edge of the quilt. Now you don't have to bind exactly to those points. Let it float a bit! Easier.
Step 5
Pressed snowball block


Step 6 (second part)
Additional information: I made this completely from scraps but if you need to buy something, here's the yardage I calculated.

  1. 1 yard muslin for the top
  2. 1.125 yards for the back (it's 41' by 41")
  3. 0.33 yard (12 inches) for binding (quarter inch double fold)
  4. 1.375 yards assorted scraps for the squares and triangles

Wouldn't six inch blocks be easier? Perhaps. However, this quilt finishes just under 41 inches, so the back can be made from one width of fabric. With six inch blocks it would be 46.5 inches.

After sandwiching and pinning the quilt I used the walking foot to ditch stitch the block edges and quilt diagonal lines across the surface through the colored squares. Only the muslin areas were unquilted. Every morning I chose a different design from Leah's website and sketched it by hand a few times before quilting one of the muslin areas. Warmed up, I'd move to Ocean Waves. This baby quilt was completed in about a month and only took that long because I just quilted one design a day.

Over that month my quilting improved and I finally created my own designs on some of the blocks.

Tree Bark design from FMQ Project 

Swirling Petals design from FMQ Project


My Baby Owl design (in the border this time)
Three varying sketches as I worked through ear tufts, eyes and beak.

From the "Can't Do" whine to the "Happy Dance" hooray. Thank you, Leah, for sharing your expertise so generously. It's finally linked to the FMQ Friday here

Fret not; enjoy the day.

Ann

Thursday, April 4, 2013

Finding Value

Here's a low contrast quilt; the block is Grandmother's Choice. I wanted to evoke a 30's feel without using any 30's-style fabric The center and border both have the same value range. The center blocks are each enclosed by identical sashing which makes them appear like discrete units. Value variations cause some to recede and others to stand out. The border changes value in steps (like a mini radiant nine-patch) which tricks the eye into sweeping across the area rather than focusing on a single spot.


Pastel fabrics in yellow, blue, green and pink are used to make this Grandmother's Dream quilt.

Have you heard of a Gray Scale and Value Finder? I use it every time I make a quilt. It prevents many fabric mistakes. It is printed on card stock, found at art supply stores and still costs less than four dollars.


Starting with 100% black, each rectangle increases white 10% and decreases black 10%. The lightest rectangle is 10% black, 90% white. While they are numbered 1-10 there is no consistency between manufacturers whether 1 is the darkest or lightest. Just lay out fabric, place the value finder on top and squint. The fabric has a value (percent black or white) where it fades into the value finder. For example, my carpet is a 2.

We frequently hear that value is more important than color. The Gray Scale helps quilters track values across all their fabrics. Trading blocks is easier too because you can refer to the value scale (assuming everyone in the group has the same brand.) No, they don't work for every fabric. A large scale print with lots of color may have different values in different places.

The first one I owned had small holes made by a hole punch but these larger openings are better designed. The Color Wheel Company manufactured my current value finder. Other than a fondness for their products I have no relationship with them. Let me know how it works for you.

Knitters should consider this too. I saw color and black-and-white photos of gorgeous Fair Isle knit sweaters. Sometimes the pattern (and all the hard work) disappeared in black-and-white because yarn color changed but not value.

Fret not; enjoy the day.

Ann