Last year I began cutting a few project remnants into 2.25 inch squares. But by the time there were enough I was in a machine quilting funk. My sketchbook was boring; I couldn't quilt designs I'd previously mastered. I wallowed in this misery for a week. Boring, tiring and non-productive.
Google searches led to Leah Day's Free Motion Quilting Project. Making small samples didn't appeal. Finally I realized I could make a nine-patch snowball quilt which would:
- Use up scraps
- Have small areas similar to Leah's samples
- Give me a warmup piece to practice on before moving to larger quilts AND
- Finish a quilt for the ready-to-go stack.
 |
| Nine-Patch Snowball Scrap Quilt |
How to make this quilt:
- Cut 353 squares 2.25". Use the Value Finder to sort the squares by value, keeping only lights and mediums (Gray Scale 9-4.) Darks go back into storage.
- Randomly sew 225 squares into 25 nine-patch blocks. Don't make x's or o's.
- Press seams to the center (because the snowball seams press out.)
- Cut muslin into 24 squares of 5.75 inches each.
- Take 96 colored squares, turn them over and draw a diagonal line on the back.
- Pin to each corner of a muslin square and sew along the drawn line.
- Flip and press towards the corner; make sure the colored square (now a triangle) reaches the original muslin corner. Then carefully cut the excess muslin & colored part underneath leaving a quarter inch seam allowance.
- Lay out blocks alternating nine-patch and snowball. Match seams and sew. (The seams won't butt each other because they have different angles. Pin the intersections well.)
- The border is simply a row to finish the "stars." Cut 28 muslin rectangles 5.75 by 2.5 inches and 4 muslin squares 2.5 inches.
- Take 32 colored squares and repeat step 4.
- Pin and sew two colored squares to each of 16 muslin rectangles as shown on the quilt. Since the muslin is slightly wider, the squares won't reach all the way to both sides.
- Press & trim the excess from the rectangles as done in step 6.
- Lay out border alternating rectangles with colored triangles & plain rectangles. Put muslin squares in the corner. Sew.
- By cutting the border muslin slightly wider, the star points finish 1/4"before the edge of the quilt. Now you don't have to bind exactly to those points. Let it float a bit! Easier.
 |
| Step 5 |
 |
| Pressed snowball block |
 |
| Step 6 (second part) |
- 1 yard muslin for the top
- 1.125 yards for the back (it's 41' by 41")
- 0.33 yard (12 inches) for binding (quarter inch double fold)
- 1.375 yards assorted scraps for the squares and triangles
Wouldn't six inch blocks be easier? Perhaps. However, this quilt finishes just under 41 inches, so the back can be made from one width of fabric. With six inch blocks it would be 46.5 inches.
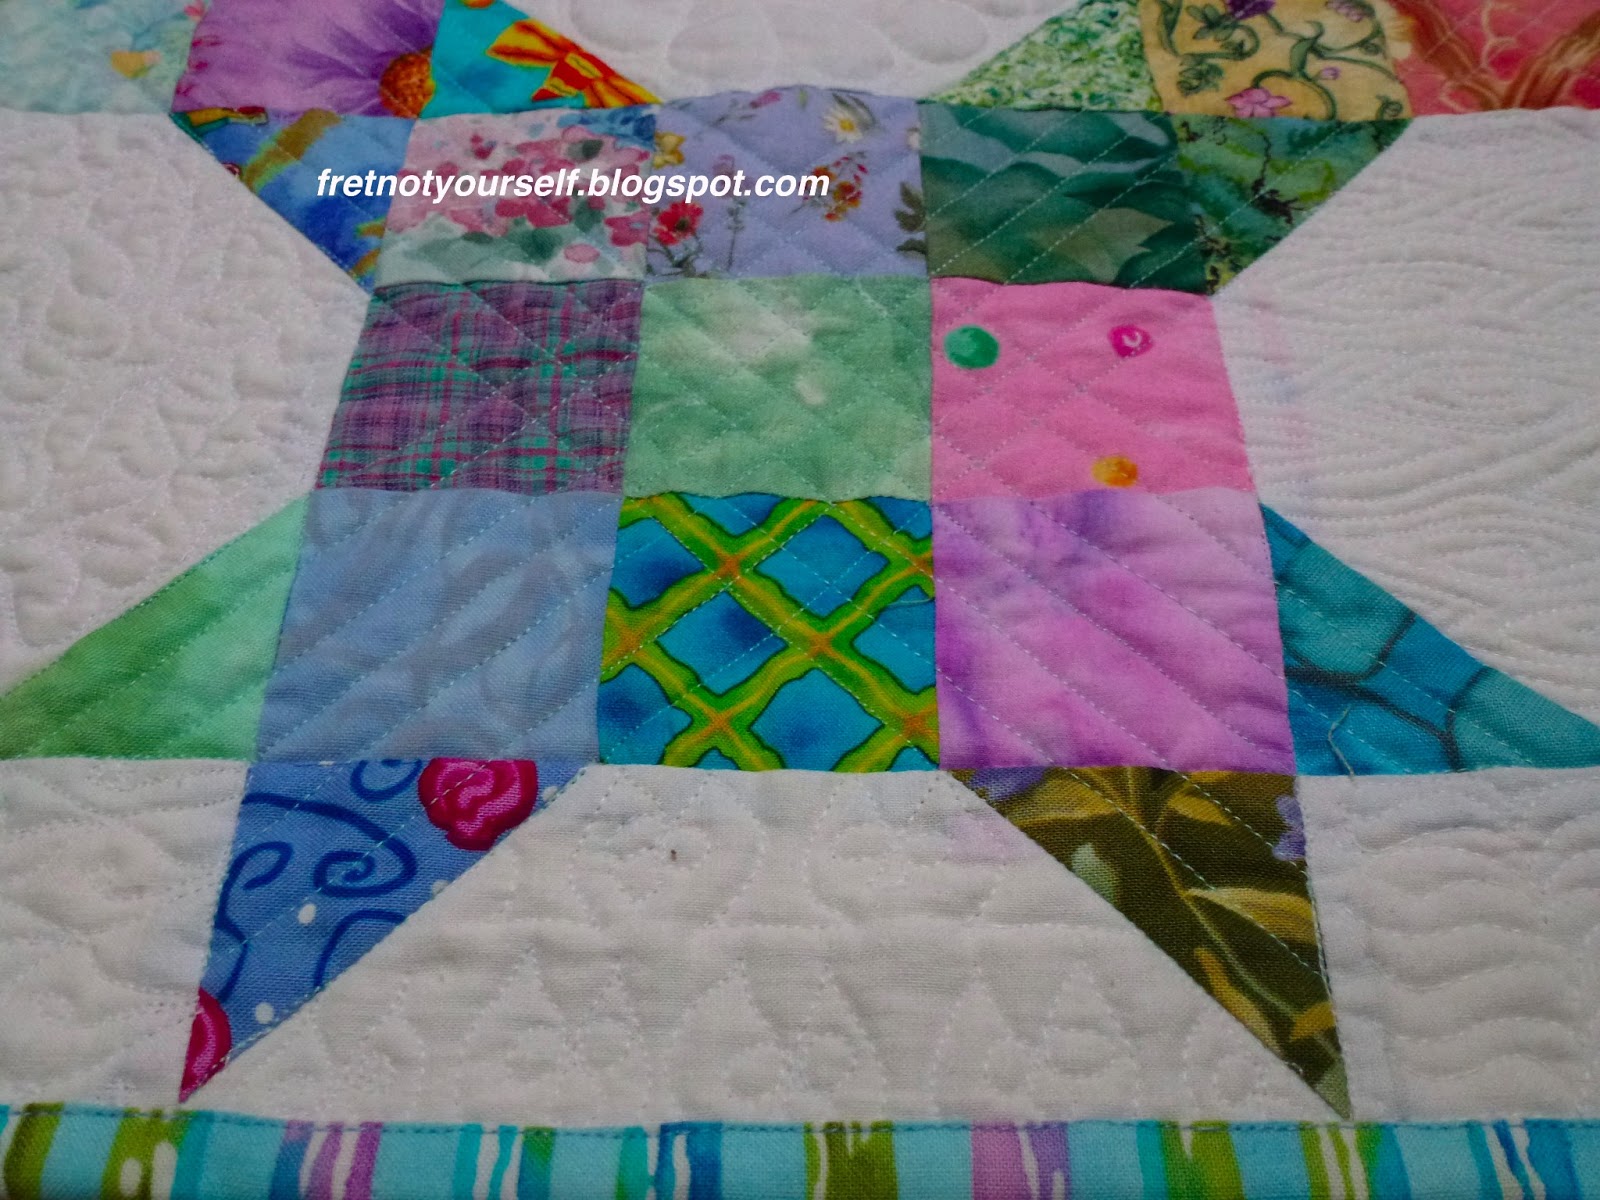
After sandwiching and pinning the quilt I used the walking foot to ditch stitch the block edges and quilt diagonal lines across the surface through the colored squares. Only the muslin areas were unquilted. Every morning I chose a different design from Leah's website and sketched it by hand a few times before quilting one of the muslin areas. Warmed up, I'd move to Ocean Waves. This baby quilt was completed in about a month and only took that long because I just quilted one design a day.
Over that month my quilting improved and I finally created my own designs on some of the blocks.
 |
| Tree Bark design from FMQ Project |
 |
| Swirling Petals design from FMQ Project |
 |
| My Baby Owl design (in the border this time) |
 |
| Three varying sketches as I worked through ear tufts, eyes and beak. |
From the "Can't Do" whine to the "Happy Dance" hooray. Thank you, Leah, for sharing your expertise so generously. It's finally linked to the FMQ Friday here.
Fret not; enjoy the day.
Ann